

��Workflow��
Setup
Make sure you have
completed following session(s)
Please follow below
steps to setup a ��Workflow�� for
application approval.
1.
Before
creating the workflow in system, you are highly suggested to draw it out to
make sure the workflow is correct. It is also easier to create the workflow by
following to the diagram. Below is a typical 2 levels approval workflow diagram
for your reference.
In
this diagram, we can see that there are 2 approval levels (i.e. Stage1,
Stage2). Approver1 is the person in-charge of Stage1, while Approver2 is the
person in-charge of Stage2.
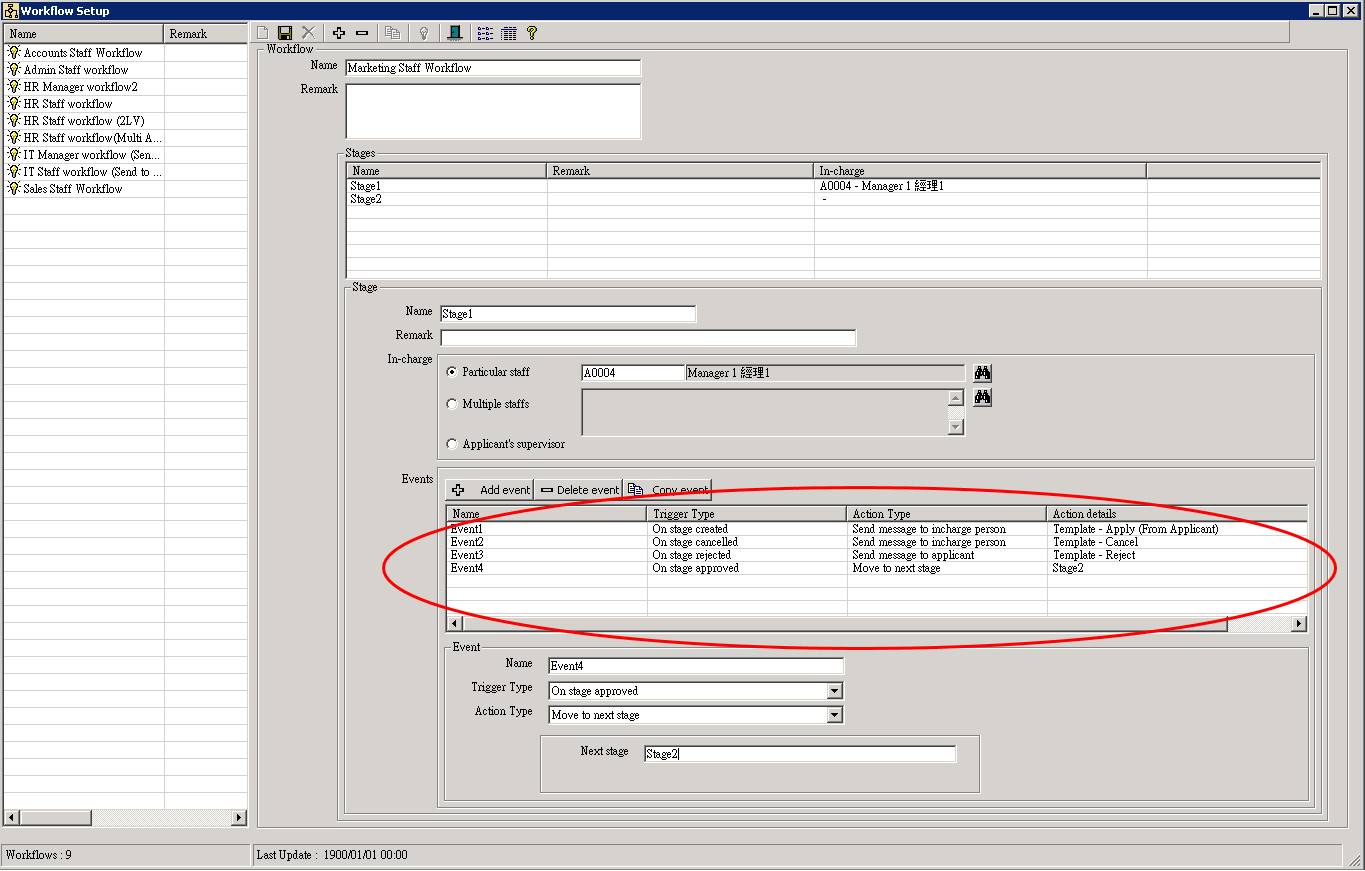
Once,
the application form was submitted, the workflow come to Stage1. As we want to
inform Approver1 that a new application was submitted and waiting for his
action, an ��Event�� is required to be defined in Stage1 (i.e. the green one).
We can also select which message template to be used here. If the application
was rejected by Approver1 in Stage1, we want to inform the Applicant that his
application was rejected, therefore another ��Event�� is required to be set (i.e.
the red one). The workflow will be terminated
once rejected, nothing has to be set. If the application was approved by
Approver1 in Stage1, we want to move to Stage2 that we need to setup another
��Event�� for that (i.e. the blue one).
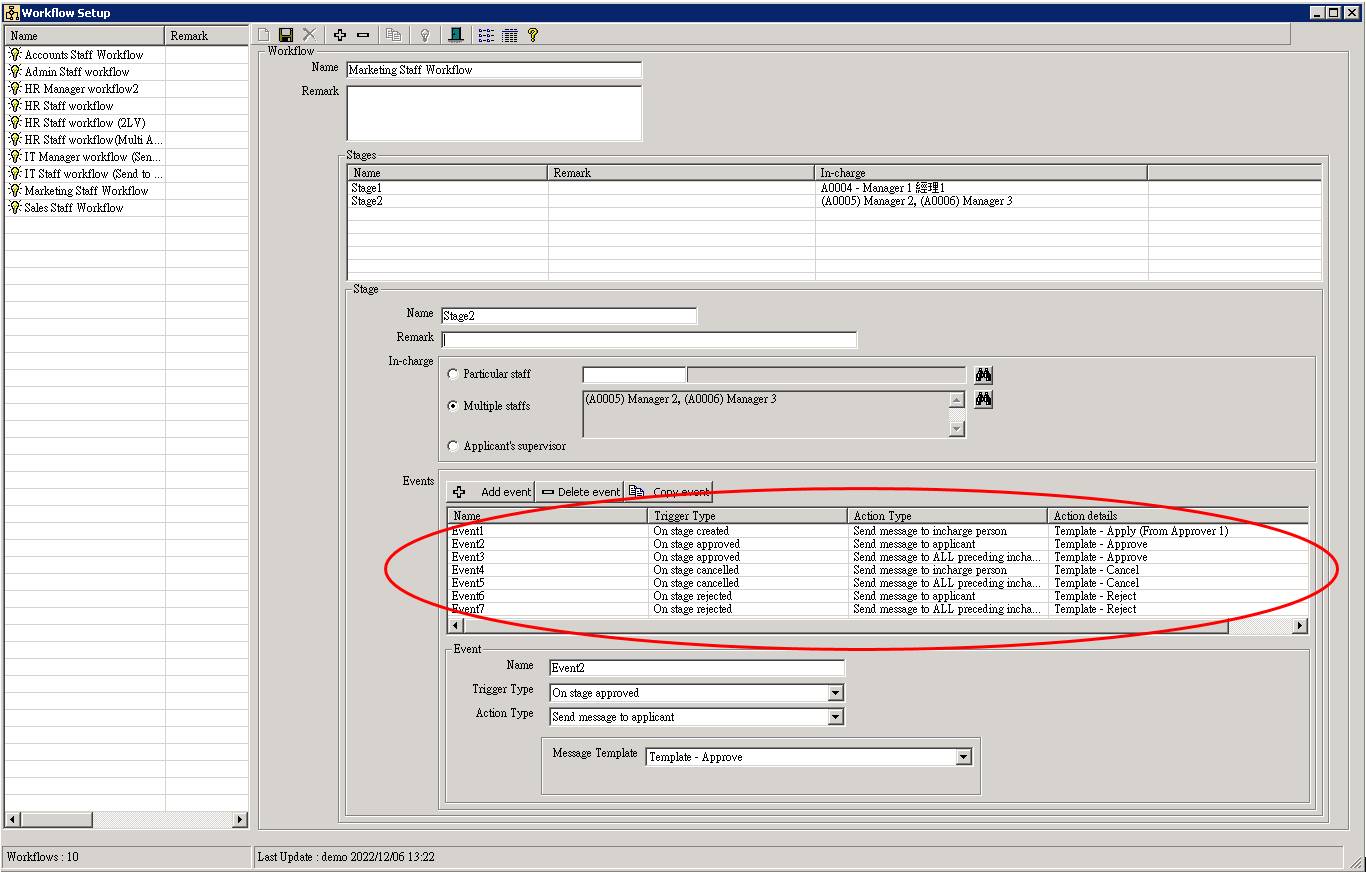
At
this moment, the workflow come to Stage2. Similarly, as we want to inform
Approver2 that an application is waiting for her action, an ��Event�� is required
to be defined in Stage2 (i.e. the green one). If the application was rejected by Approver2 in
Stage2, we want to inform both of the Applicant and Approver1 that the
application was rejected, therefore another ��Event�� is required to be set (i.e.
the red one). The workflow will be terminated
once rejected, nothing has to be set. If the application was approved by
Approver2 in Stage2, we want to inform the Applicant that his application was
approved, so we need to setup another ��Event�� for that (i.e. the blue one). If
Stage2 is the last stage in workflow, the status of the application will be
changed to ��APPROVED�� and saved in database. Workflow run completed.

2.
Make
sure ALL message templates used in the workflow are already created. For the
example above, there are totally 3 different message templates (i.e. ��Form
received��, ��Rejected��, ��Approved��).
If not, please follow "Message
Template" Setup to complete the message templates
first.
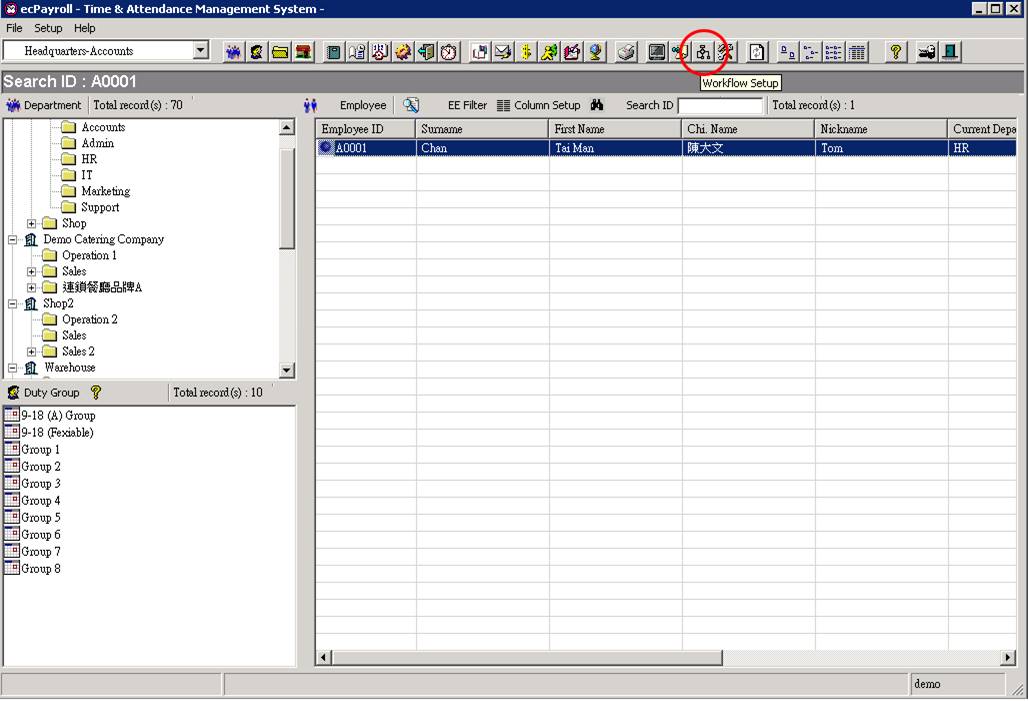
3.
Ok now let��s set it up by following to your
diagram. Click the [ Workflow ]
button from the main screen toolbar. The workflow setup screen will be shown.
All existing workflows will be shown in the list on the left.
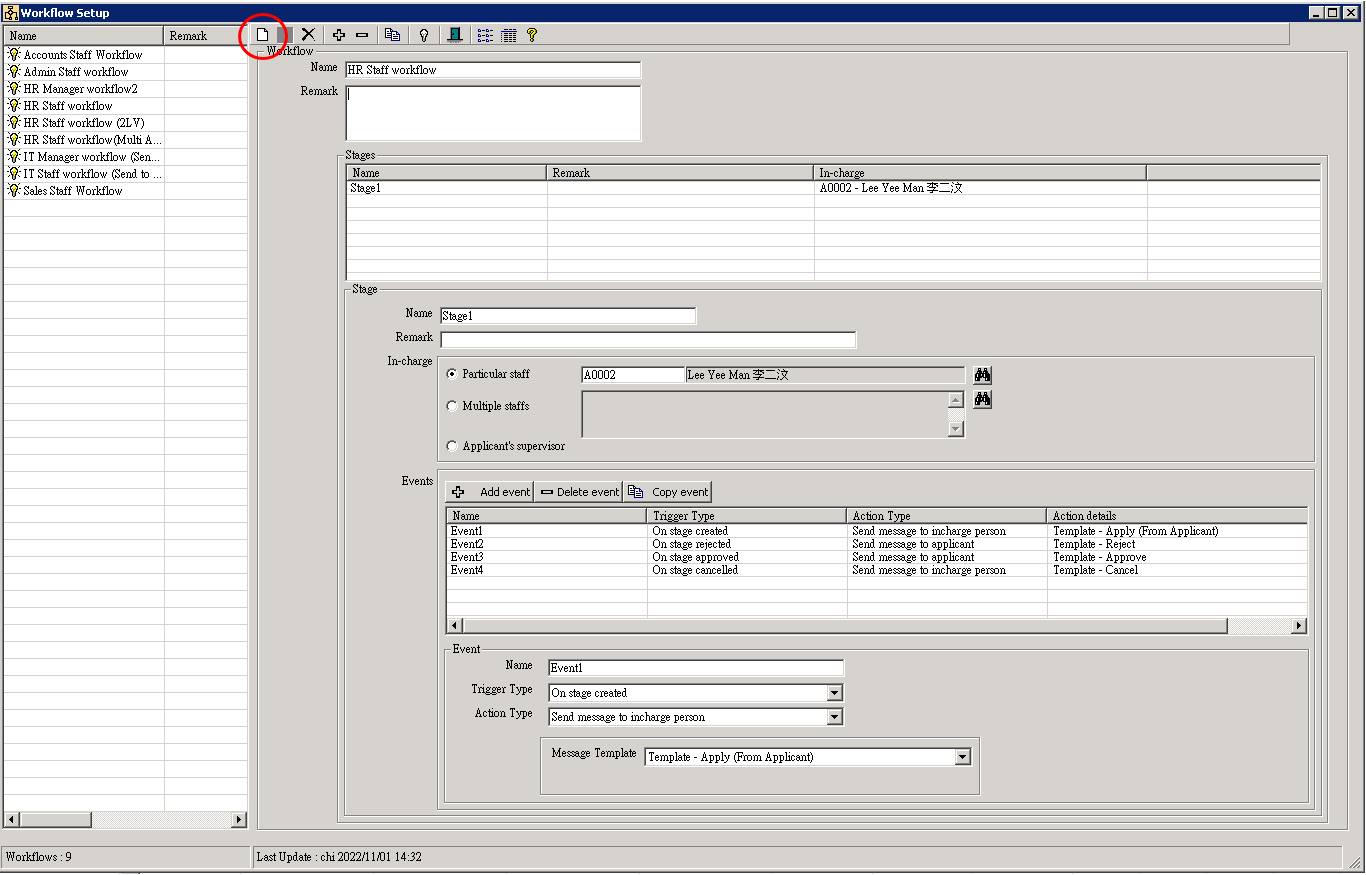
4.
Click the [ New
] button to start create a Workflow.
5.
Enter the name of the Workflow. This name will be shown for selection in other modules.
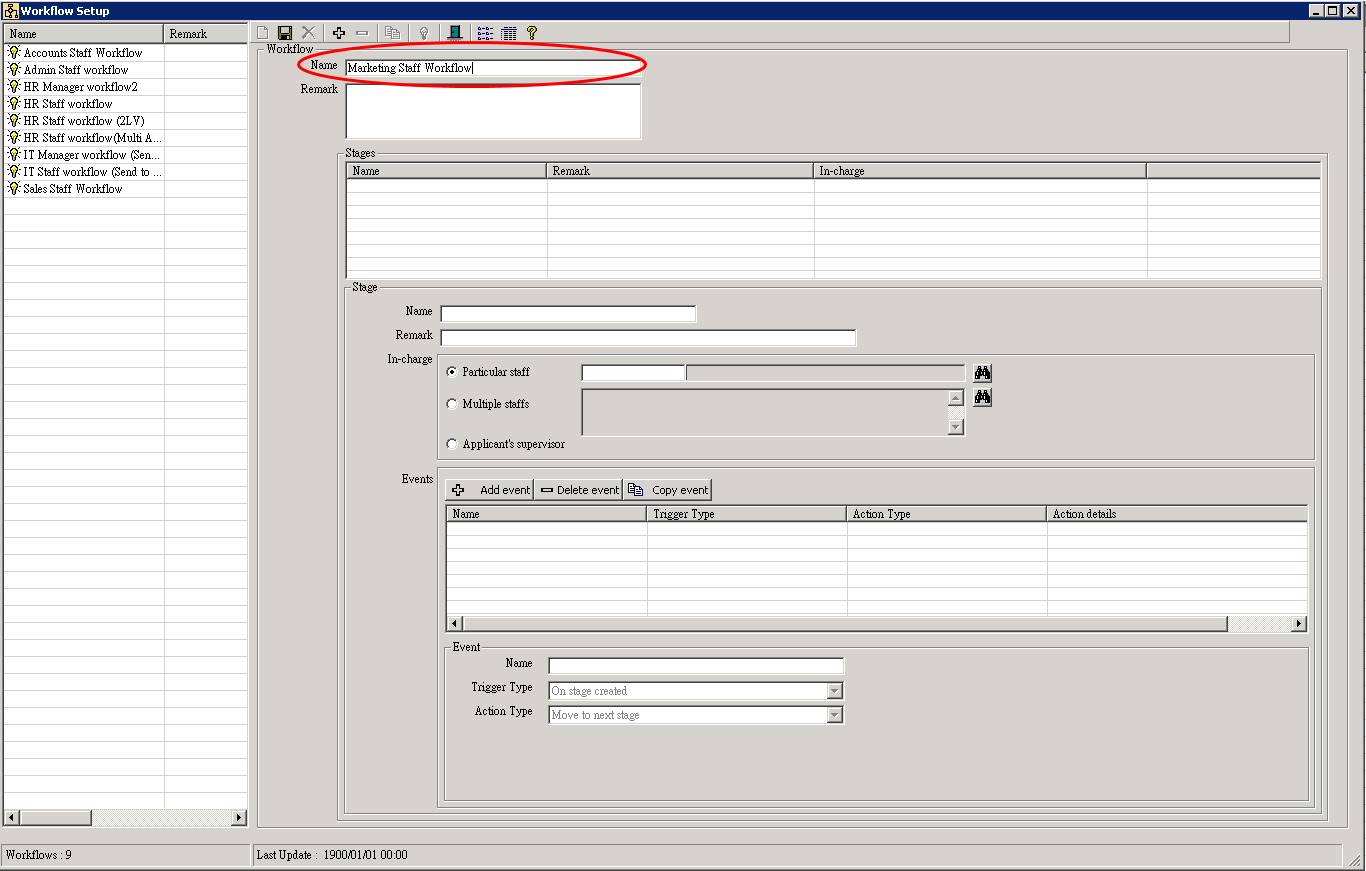
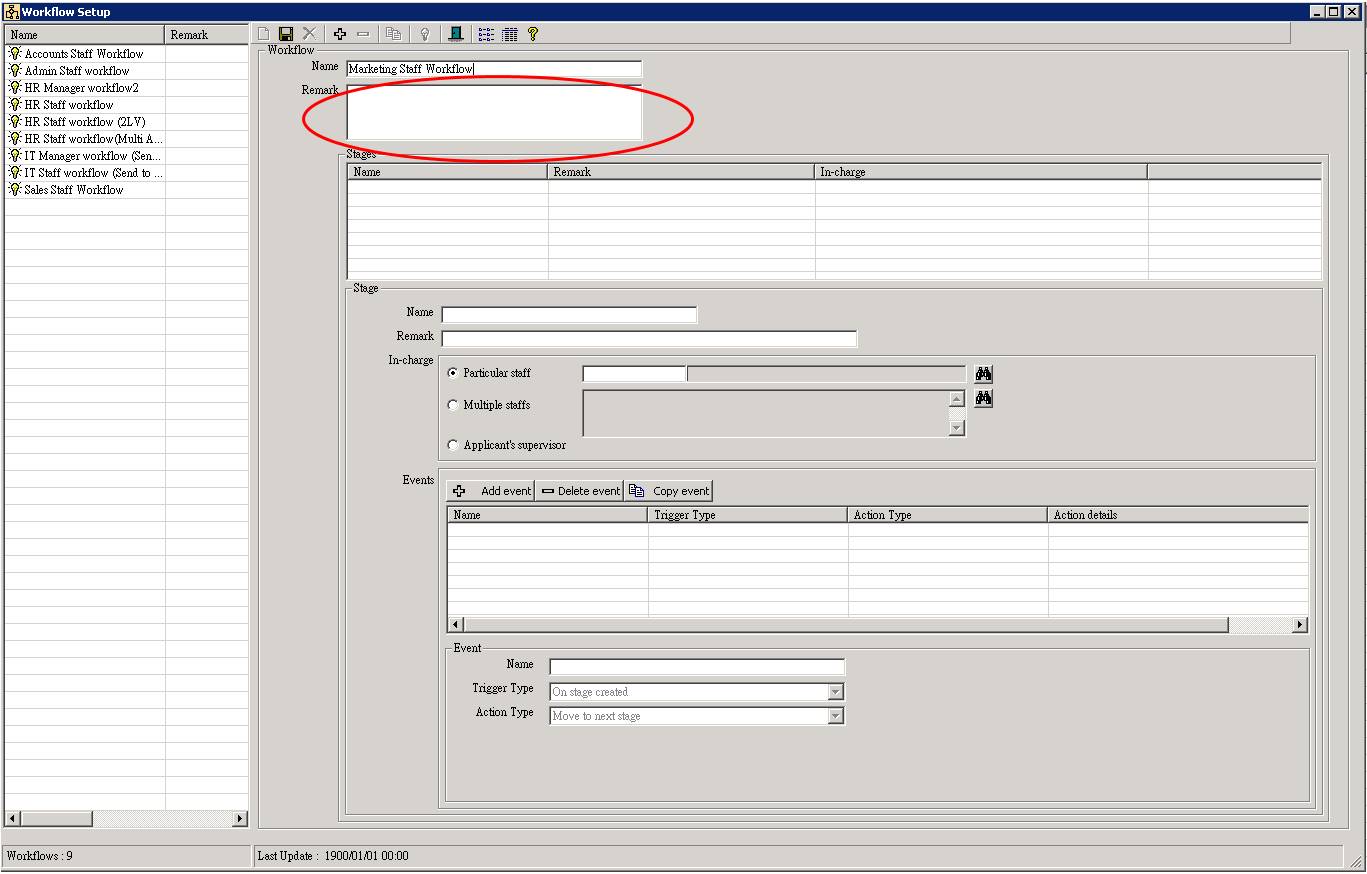
6.
Enter the remark for this Workflow if any.
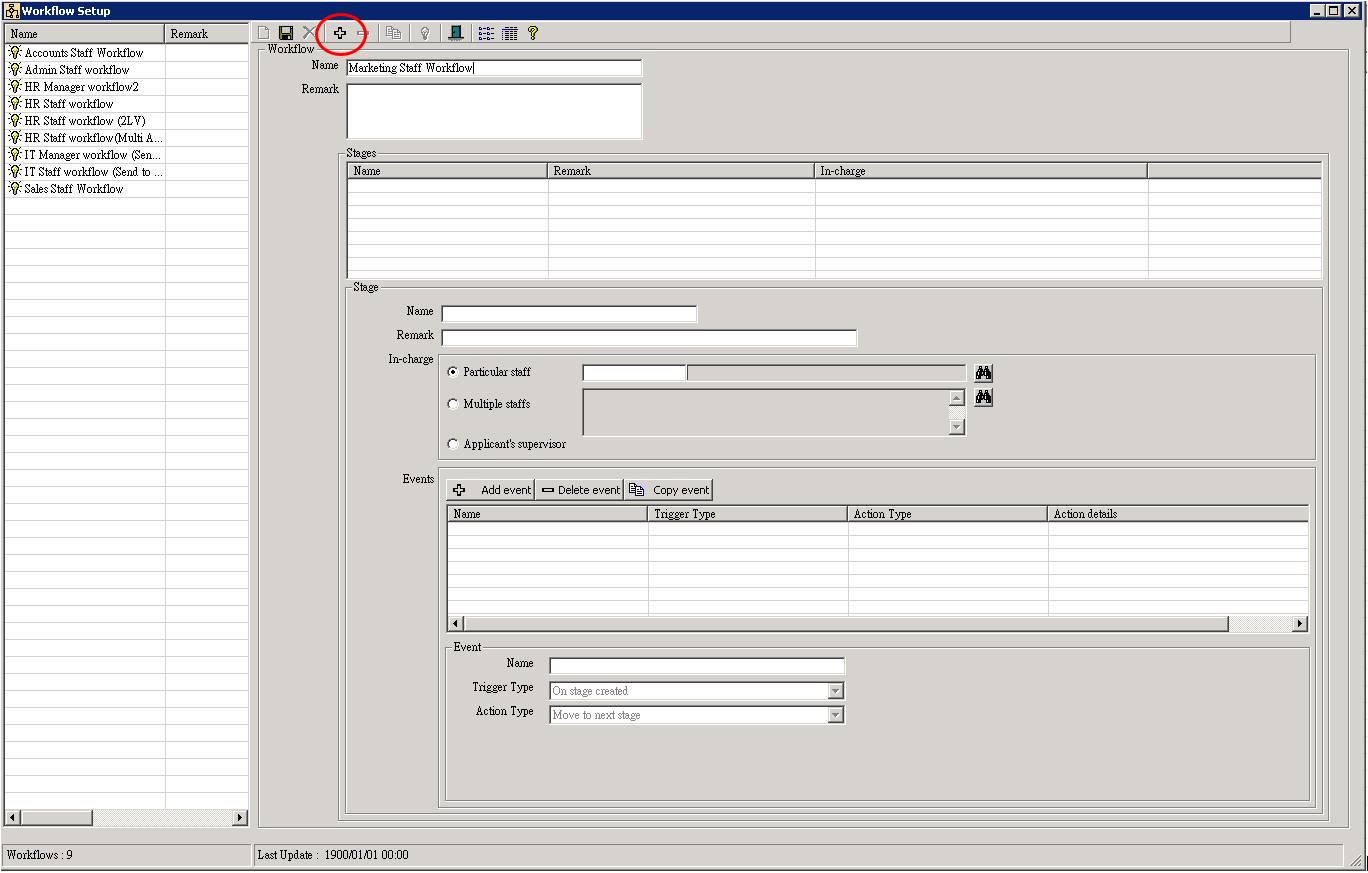
7.
Adding a new Stage
in current Workflow
i.
Click the [ + ] button to add new blank Stage
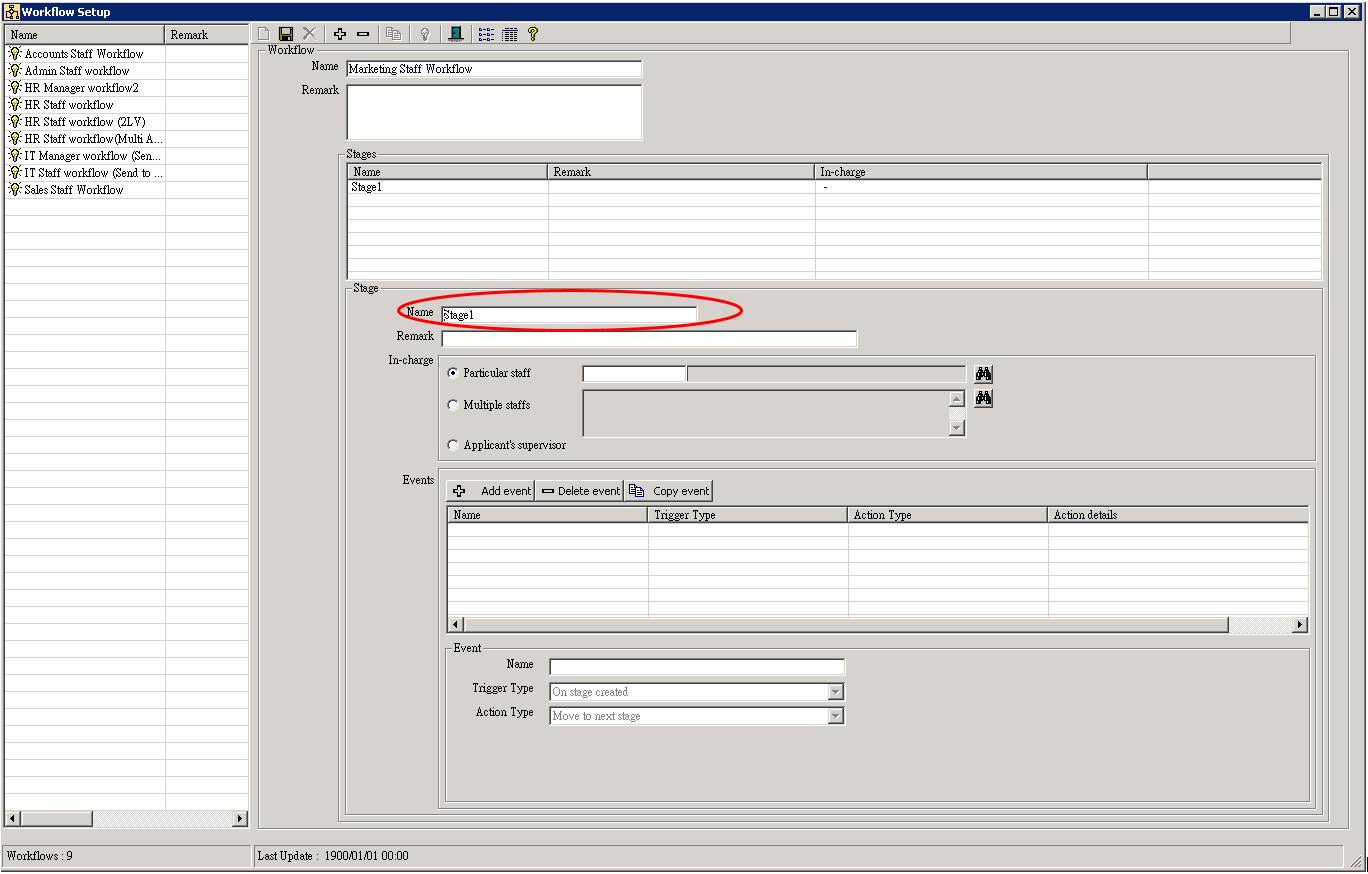
ii.
Enter the name of the Stage. This name is used for identifying the Stage. It should be unique in the same workflow. A default stage
name will be shown.
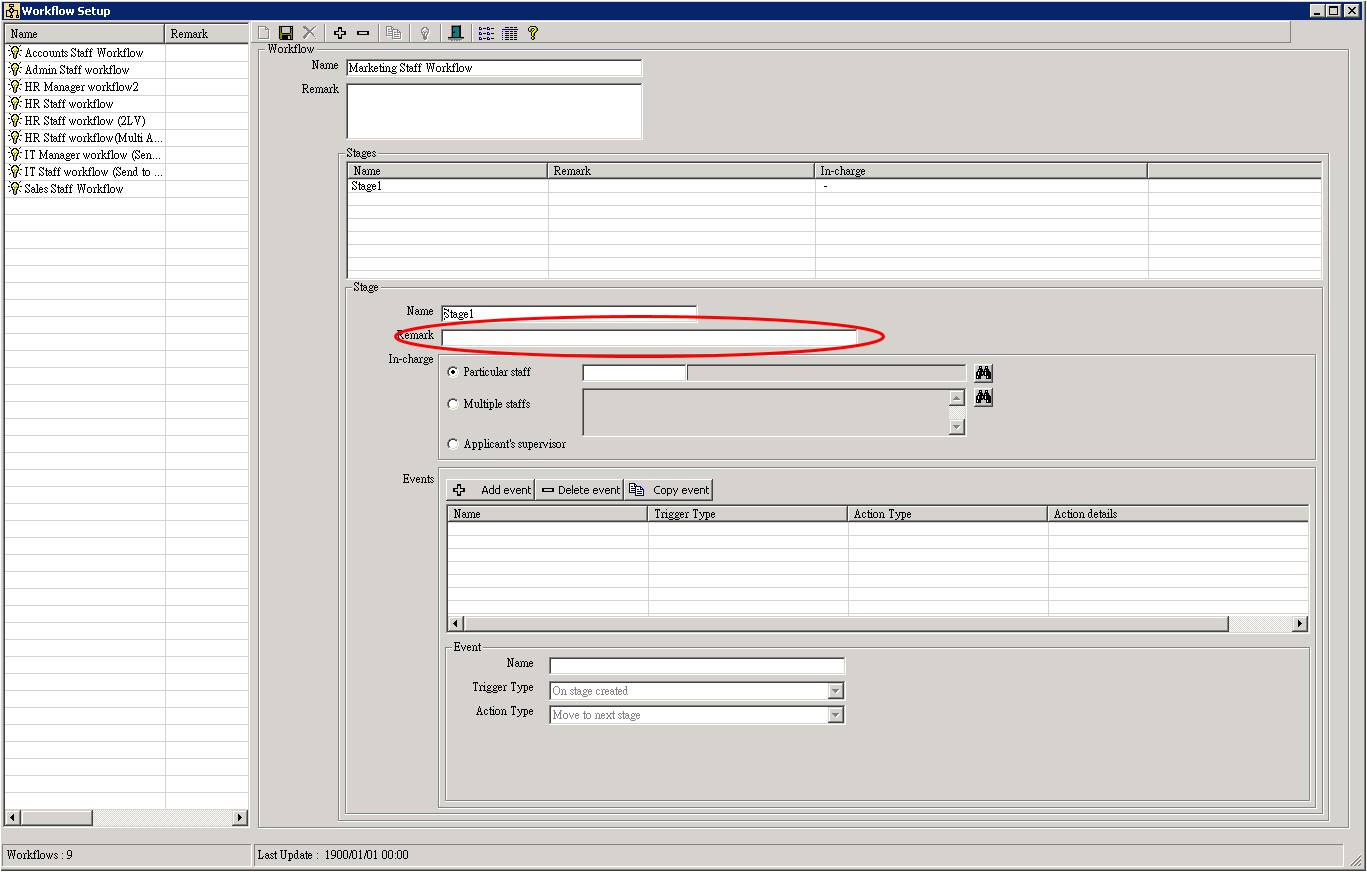
iii.
Enter the remark of the Stage if any.
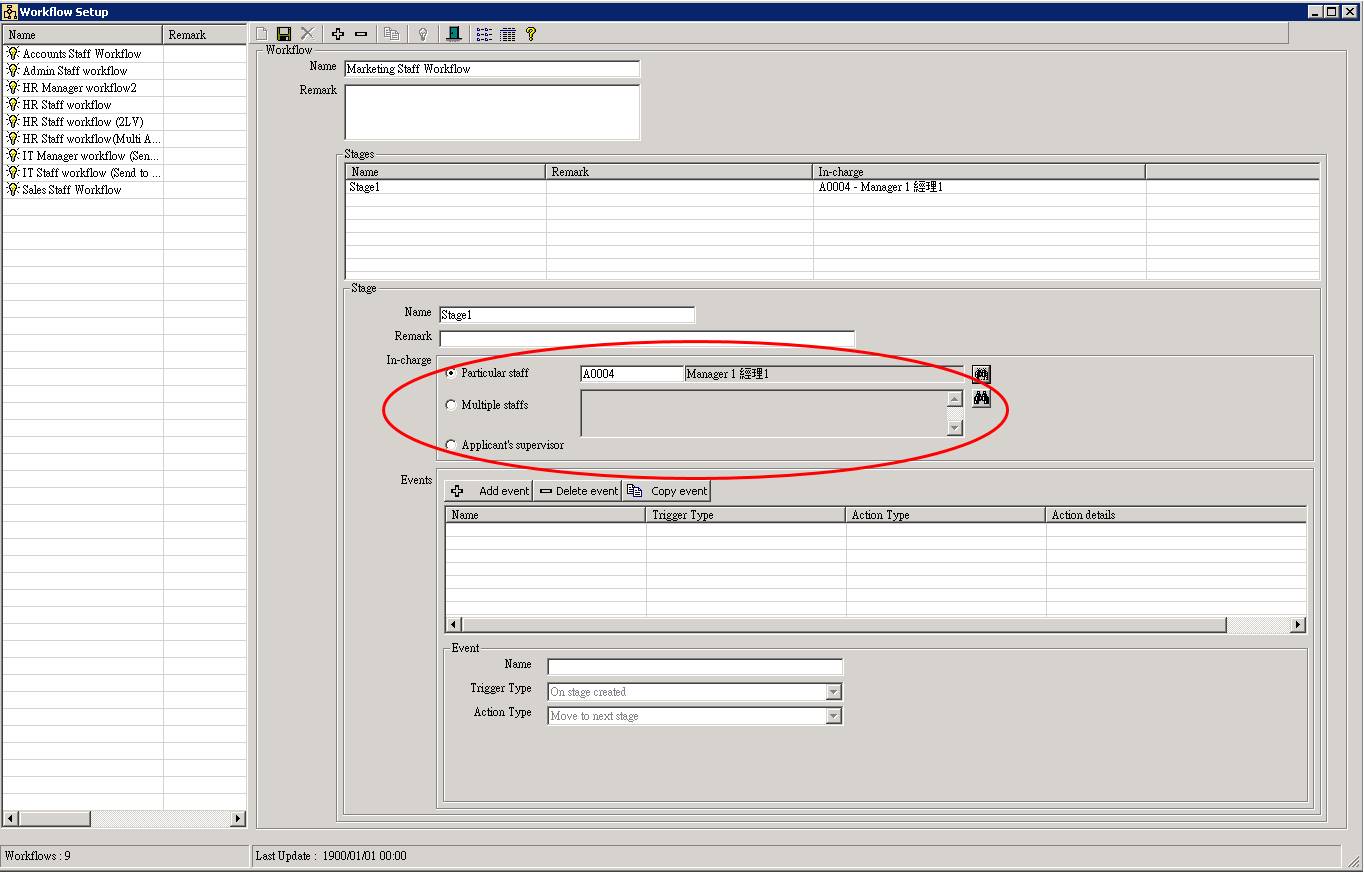
iv.
Select an ��In-charge
mode�� to define who is/are the approver(s) for this stage. There are 3
modes as shown below :
|
Mode |
Description |
|
Particular staff |
To assign a fixed person as the approver for the stage. Enter the Employee ID to select such employee. |
|
Multiple staffs |
To assign a group of persons as the approvers for the stage. l
All people in group can receive
notification l
Any one in group can make approval (or
reject). l
Once approved (or rejected) by any one of
the approvers in group, the ��On stage approved�� (or ��On stage rejected��) will
be triggered immediately, so that some ��action�� will be run such as ��Moved to
next stage��. Click the ��EE filter�� button on the right to select group of
employees. |
|
Applicant��s supervisor |
To assign the supervisor of the applicant as the approver based on the
current ��Movement�� record in Employee master. |
For this example, select ��Particular staff�� mode, then enter the employee ID of the
in-charge person for this Stage. The
corresponding employee name will be shown on the right.
v.
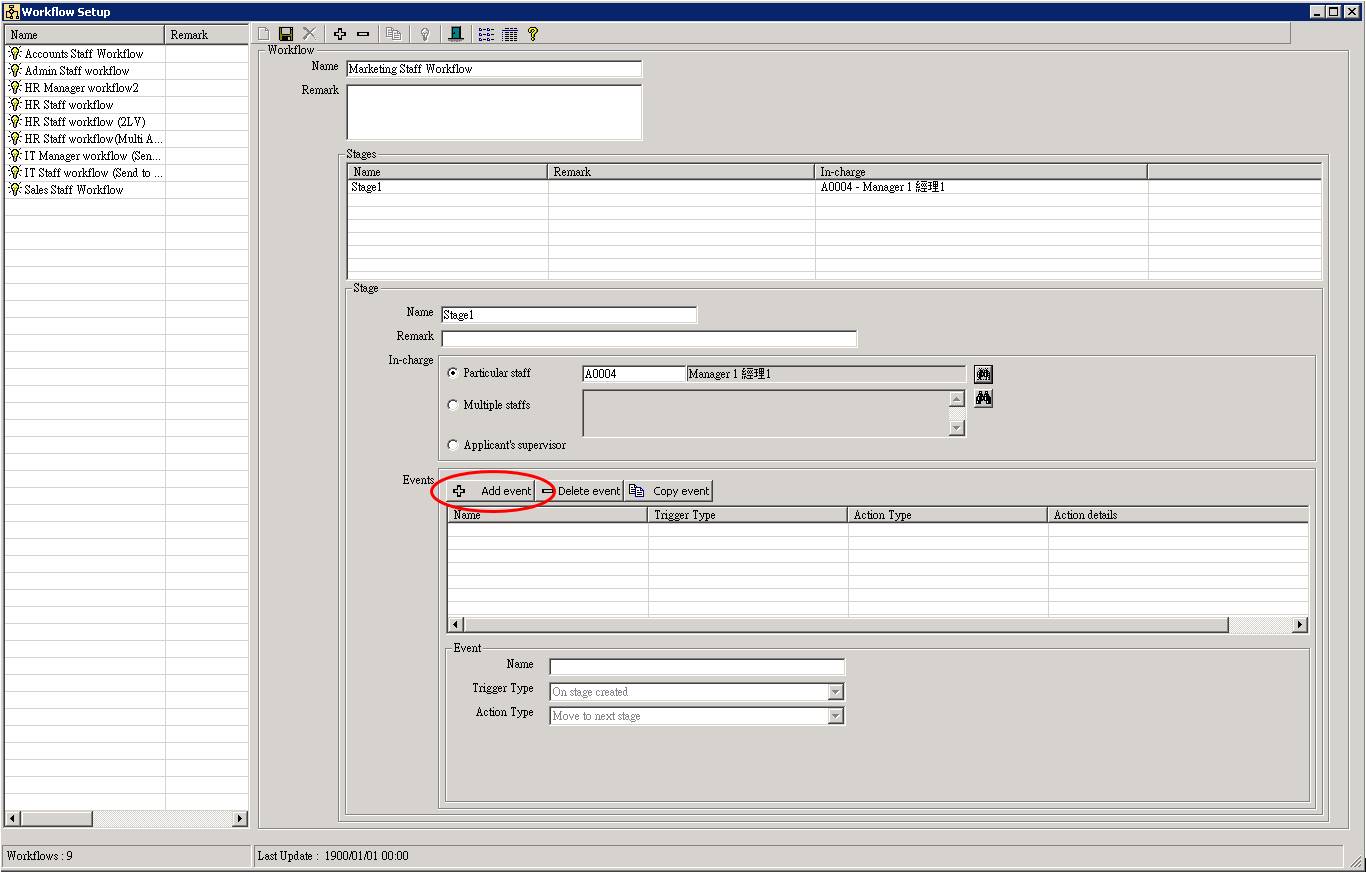
Adding a new Event
in current Stage
i.
Click the [ Add event ] button to add new blank Event
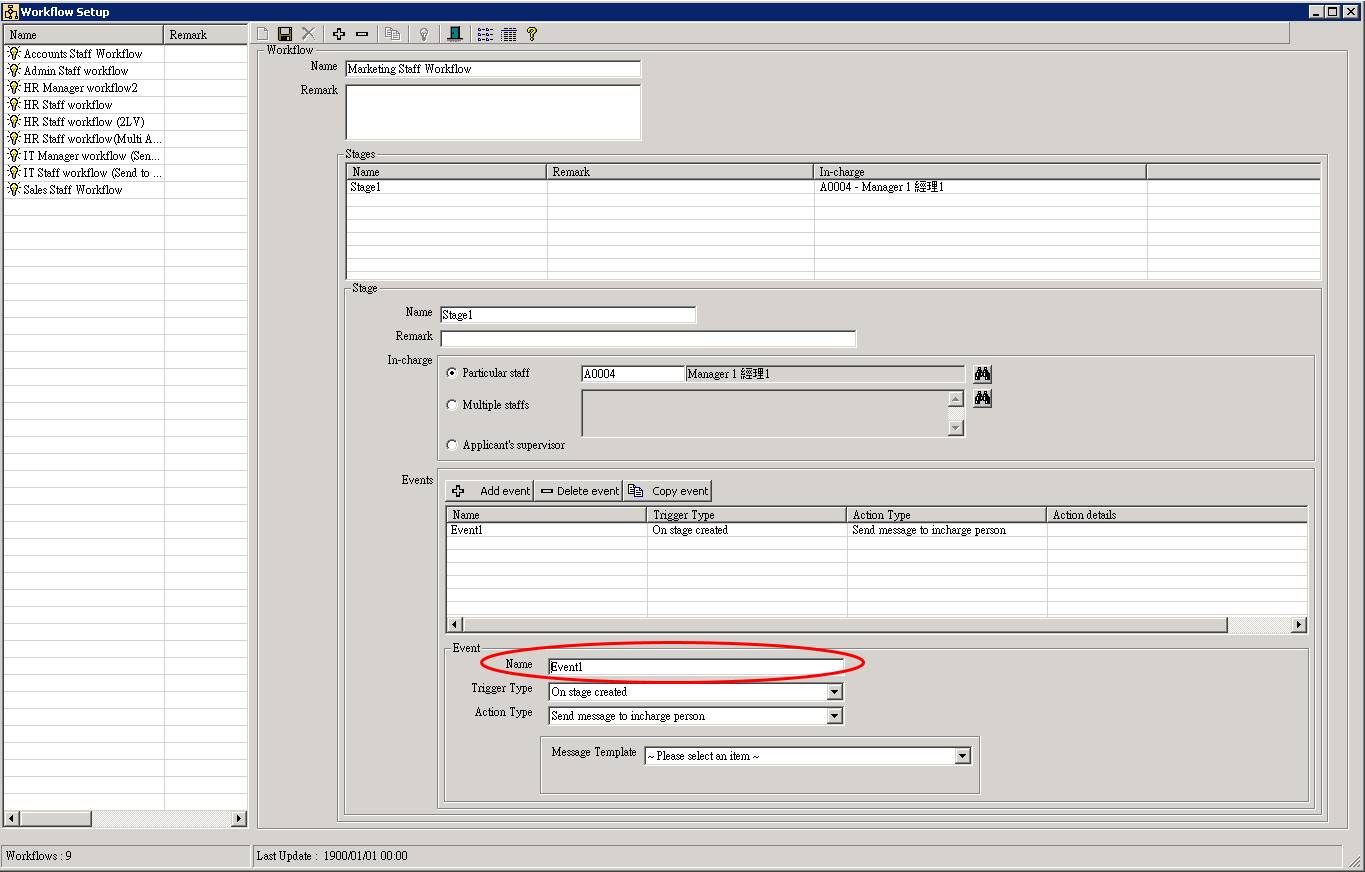
ii.
Enter the name of the Event. This name is used for identifying the Event. It should be unique in the same Stage. A default event name will be shown.
iii.
Select the Trigger
Type. A Trigger Type is telling
the system when the action will be fired. See below table for different Trigger Types
|
Trigger Type |
Description |
|
On stage created |
If current stage is the 1st stage, fired when the
application form submitted. If current stage is the 2nd or later stage, fired when the
workflow is just moved to. |
|
On stage completed |
Fired when the stage was approved and it is the last stage. |
|
On stage approved |
Fired when the current stage was approved. |
|
On stage rejected |
Fired when the current stage was rejected. |
|
On stage cancelled |
Fired when the current stage was cancelled by applicant. |

iv.
Select the Action
Type. An Action Type is telling
the system what to do when the event was triggered. See below table for
different Action Types
|
Action Type |
Description |
Detail settings |
|
Move to next stage |
Jump to another Stage. Normally, it will be used with ��On stage
approved�� to move to next approval stage. |
The name of the next stage to be moved |
|
Send message to in-charge person |
Send a ��message�� with selected ��template�� to the current stage
in-charge |
Message Template |
|
Send message to applicant |
Send a ��message�� with selected ��template�� to the applicant. |
Message Template |
|
Send message to ALL preceding in-charge persons |
Send a ��message�� with selected ��template�� to the in-charge person(s) of
ALL previous stage(s). |
Message Template |
|
Send message to ALL other in-charge person(s) in this stage |
Send a ��message�� with selected ��template�� to ALL other in-charge
person(s) in current stage except the current approver who triggered the
action. |
Message Template |
|
Send message to a particular Message Box |
Send a ��message�� with selected ��template�� to the selected ��Message
Box�� When you want to ��cc�� a copy of the message to a particular email
address, you may setup this Action to send a copy to a particular message box
which is mapped to an email address. |
Message Box Message Template |
|
Auto approve |
Auto approve the current application. Normally this action should be applied to the user group who are
self-approve themselves. (e.g. boss) |
|
|
Auto reject |
Auto reject the current application. |
|

v.
Finished setting an Event for the current Stage.
Jump to step 7.v.i to add another Event
for the current Stage if required.
vi.
Finished setting a Stage for the current Workflow.
Jump to step 7.i to add the next Stage
if required.
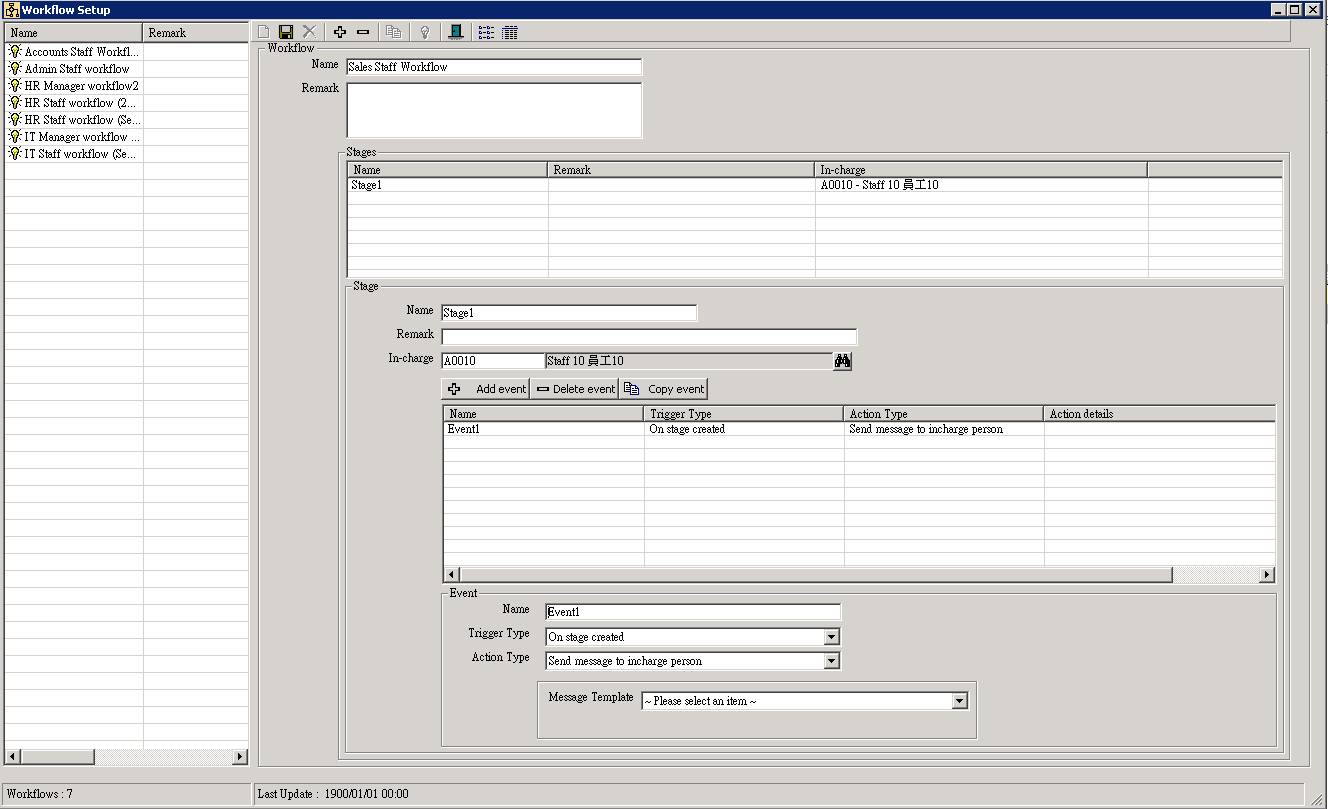
8.
Click the [ Update
] button to save the settings. The Workflow
was created.
|
|
TIPS |
If you want to create another workflow which setting is similar to
another existing workflow (e.g. Same
level of ��stage�� and same ��event��, but only different in-charge person), you
may use the ��copy�� function to duplicate the workflow, and start edit the
name, in-charge person, etc.
|
