

Message
Template Setup
Make sure you have
completed following session(s)
l
What is a
"Message Template"
|
|
TIPS |
Why not
just call it Email template? A “Message” is similar to an email but not
exactly. A “Message” can be sent to the user by multiple channels, email is just
one of them. For details, see What is a
"Message" |
You may create
many Message Templates according to your needs. The defined Message Templates
can be selected in other setup pages such as Forgot Password setup, Workflow
setup …etc.
To create a Message Template please follow the steps below:
Steps
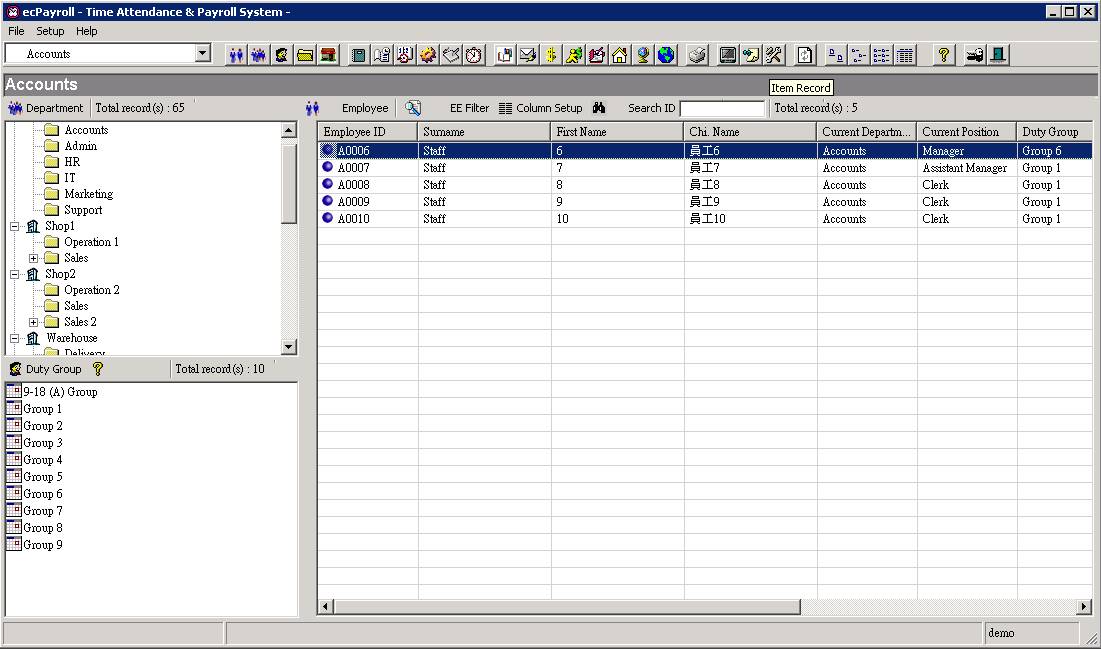
1. Click the [Item Record] from the main screen toolbar
![]()
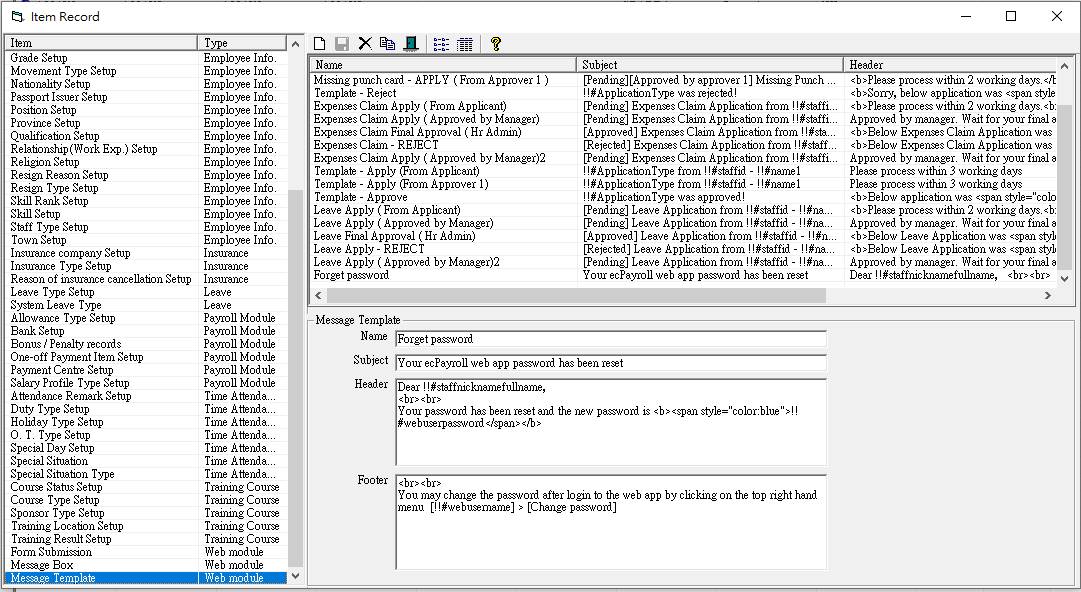
2. Select the [Message Template] from the menu
![]()
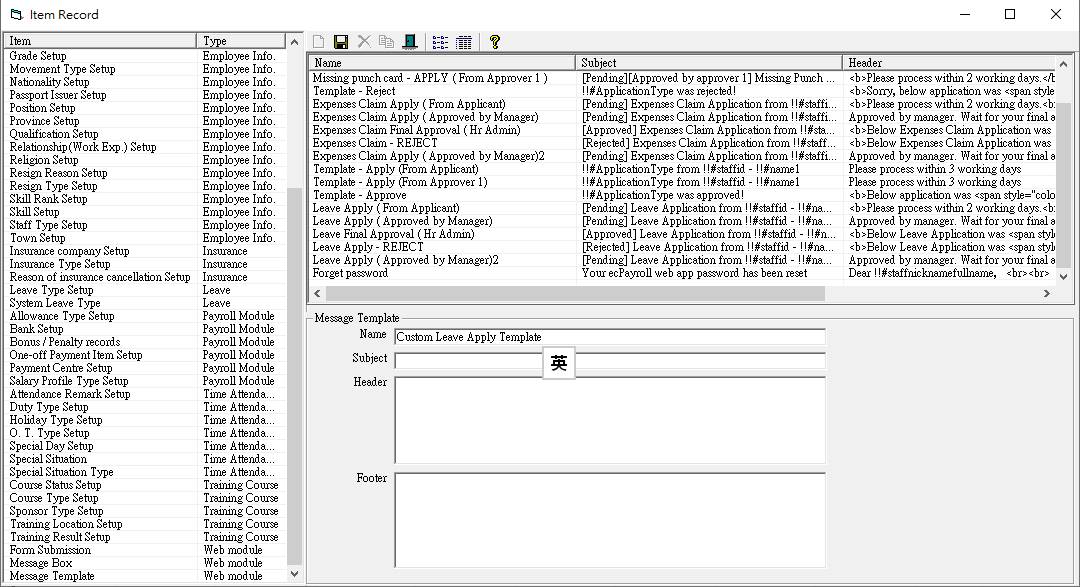
3. Click the [New] button to create a new Message Template
![]()
4. Enter the name of the Message Template. This name will be shown for selection
so it should be unique and easy understanding.
![]()
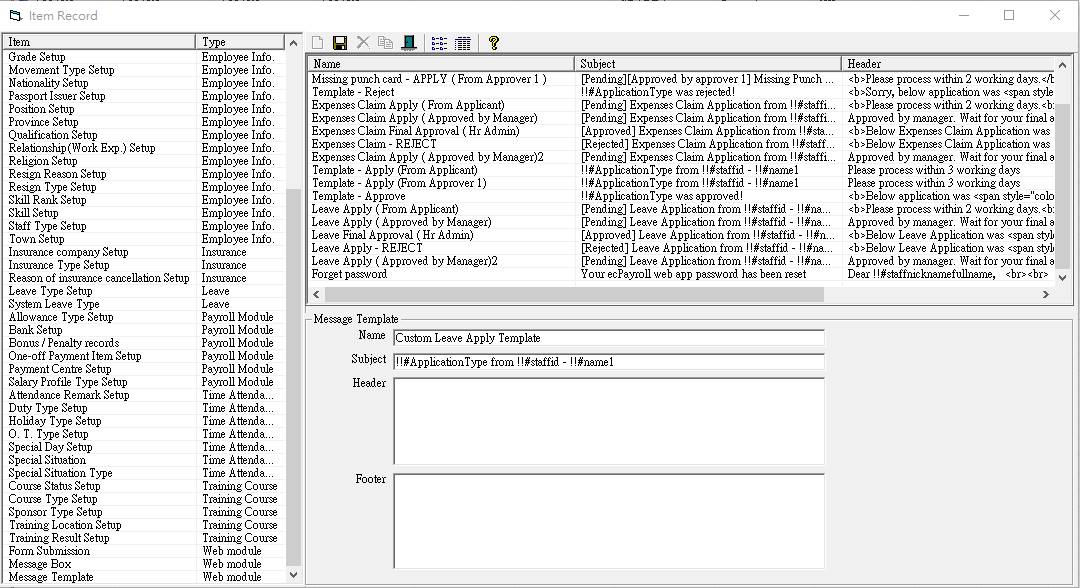
5. Enter the Subject of the Message Template. When the message was sent by
email, this subject will be shown in the email subject. The Subject is a plain
text and not supported HTML. You can insert variables inside the Subject. See
the variable
list here.
![]()
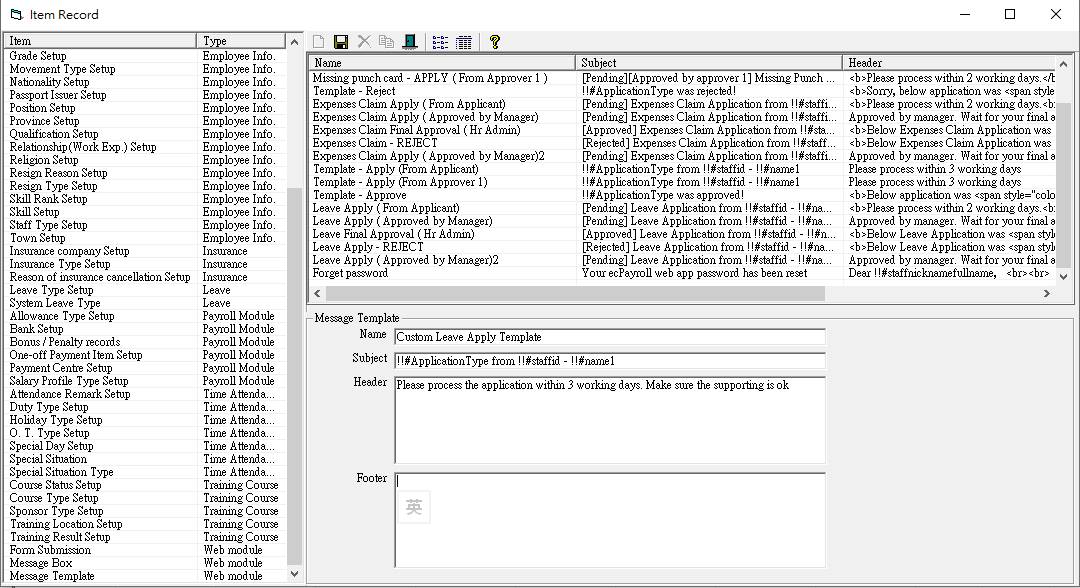
6. Enter the Header and Footer of the
Message Template. Actually the body of the Message is composed by {Header}, {System content}, and {Footer}.
The {System content} is generated by
system depends on what kind of process. The {System content} will be put between the {Header} and {Footer}.
I.
Enter
the Header. It is optional. If you
have no header just leave it blank. Normally, the header is some instructions,
guidelines, or remark that the administrator wants to remind the receipt in the
message. HTML is supported in Header. You can insert variables inside the
Header. See the variable list here.

II.
Enter
the Footer. It is optional. If you
have no footer just leave it blank. Normally, the footer is some further
remarks, or even a slogan. HTML is supported in Footer. You can insert
variables inside the Footer. See the variable list here.

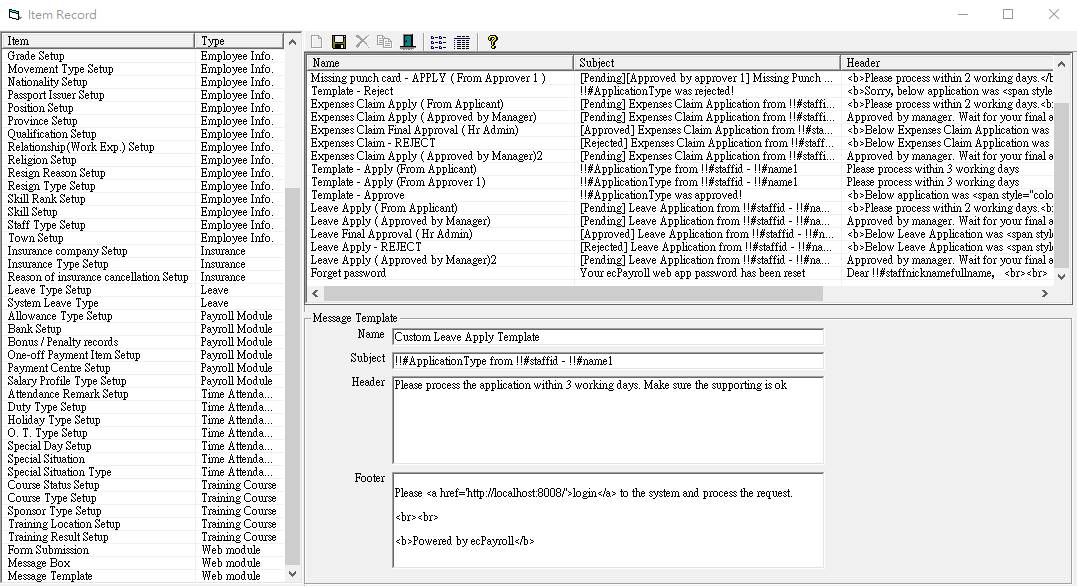
7. Click the [Update] button to save changes.
![]()
8. Finished. Repeat steps 3-7 to create
another Message Template.